Installation
The quickest way to start using Enthusiast is with the provided Docker Compose setup. This will get you a working instance in just a few minutes.
Setting Up Using Docker Compose
First, clone the starter repository:
$ git clone https://github.com/upsidelab/enthusiast-starter
$ cp config/env.sample config/env
The default configuration uses the OpenAI API for generating document embeddings and for the large language model.
Make sure that your OpenAI has access to gpt-4.1 it is default recommended model if not - at least gpt-4o to ensure proper functioning of the application.
You need to provide your OpenAI API key via the OPENAI_API_KEY environment variable in the config/env file.
Next, run Docker Compose to start the environment:
$ docker compose build && docker compose upAccessing the Admin Panel
Once the setup is complete, you can access the application UI at http://localhost:10001 .
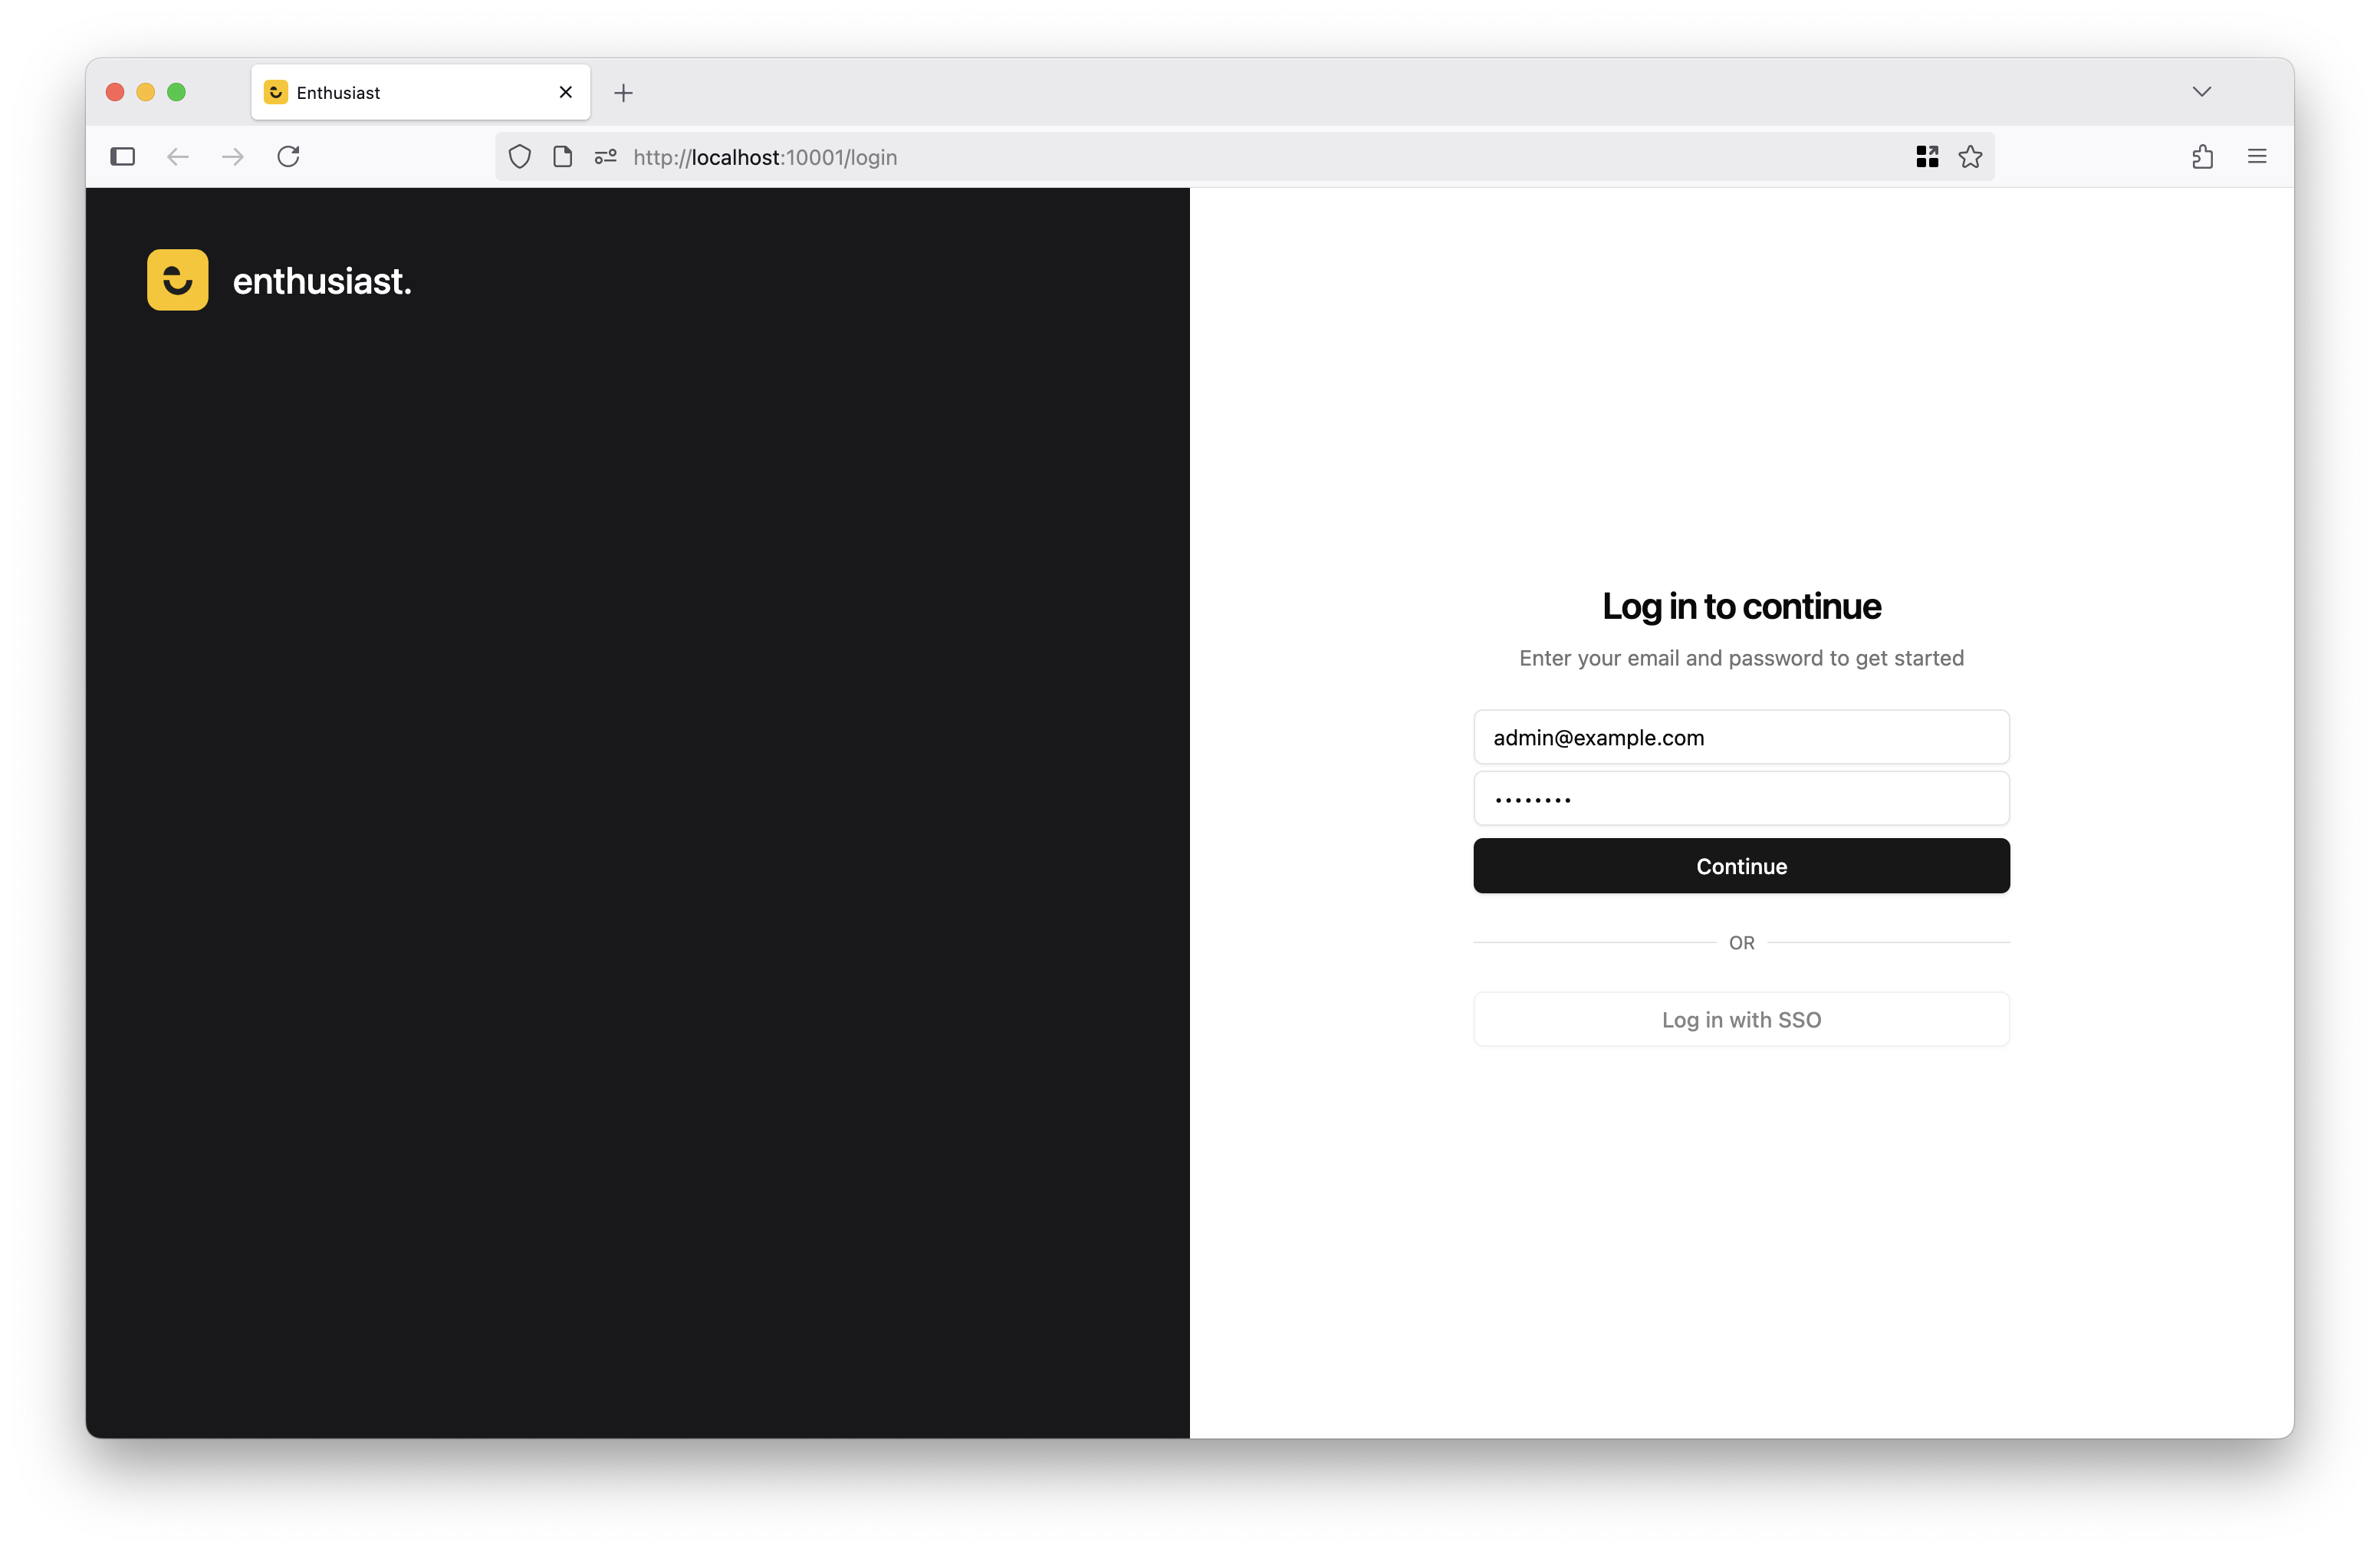
Sign in using the default admin account:
Email: admin@example.com
Password: changeme
To customize the default email and password, set the ECL_ADMIN_EMAIL and ECL_ADMIN_PASSWORD environment variables when running Docker Compose for the first time.
You can now import test data.